How to use Rackspace Cloud Files (Enhanced)
Setting up Rackspace Cloud Files Enhanced
Follow these steps to create and configure your Rackspace Cloud File container. If you already have your container set up, go to step 7.
1. Install and activate UpdraftPlus
If you haven’t already, purchase, install and activate UpdraftPlus Premium.
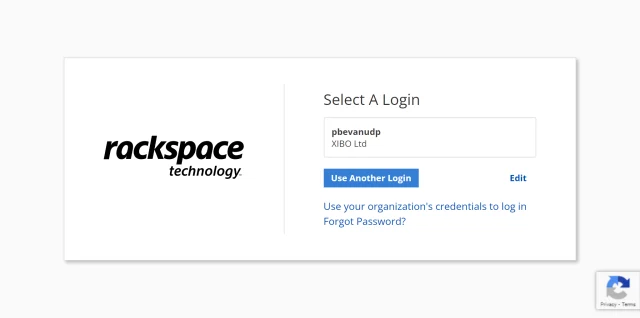
2. Sign into Rackspace
Login to Rackspace
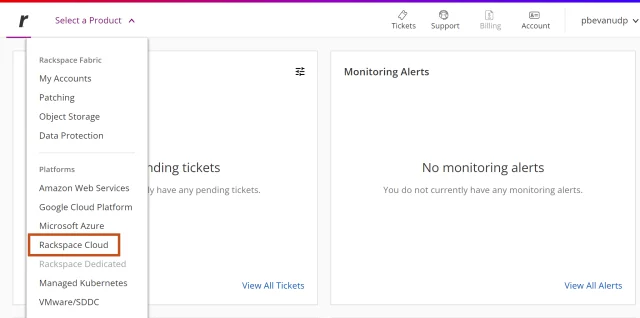
3. Go to Rackspace Cloud
Click the Rackspace Cloud menu item.
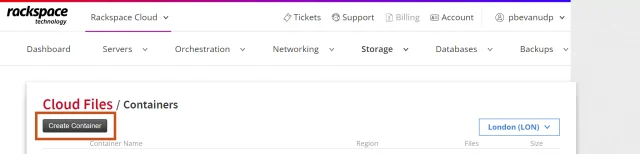
4. Go to containers
Click the Storage >> Object Storage and CDN >> Files menu item.

5. Create container
Click the Create Container button.
6. Configure your container
Enter your container name, preferred region and click the Create Container button.

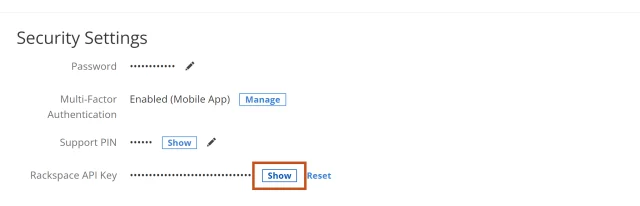
7. Get your API Key (i)
Click the My Profile & Settings menu item.
Scroll down and click the Show button to reveal your key.
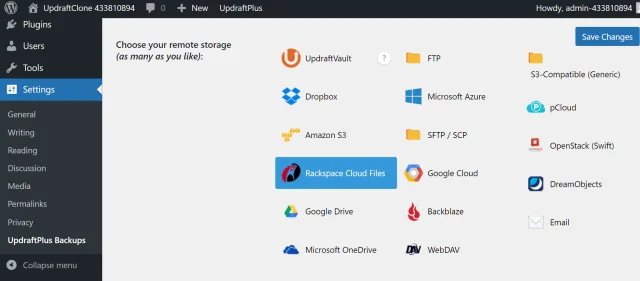
8. Select Rackspace
Go back to your website and click Rackspace Cloud Files on the UpdraftPlus >> Settings tab.
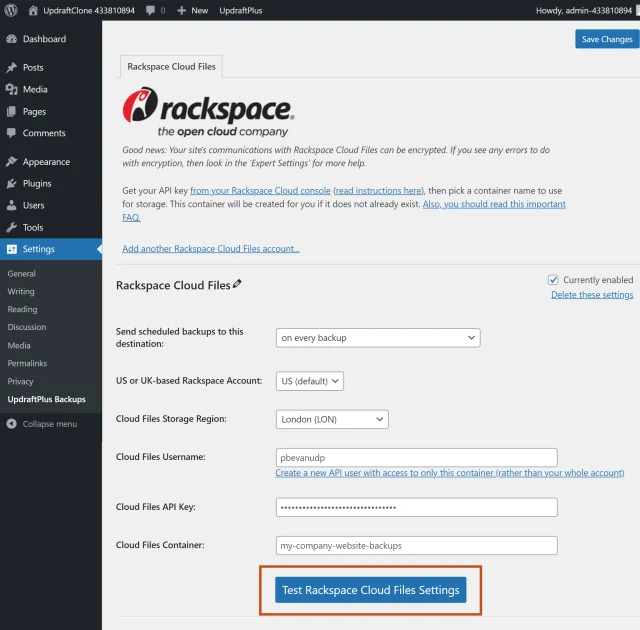
9. Test credentials
Scroll down to the Rackspace Cloud File section.
Enter your credentials and click the Test Rackspace Cloud File Settings button to ensure they work correctly.
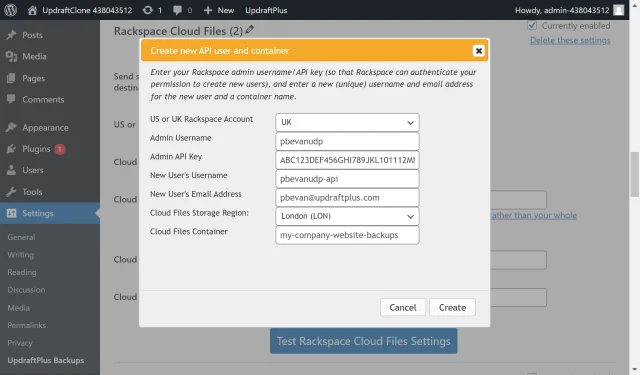
10. Create an IAM user
Click Create a new API user with access to only this container (rather than your whole account) link and enter your credentials.
Next, click the Create button.
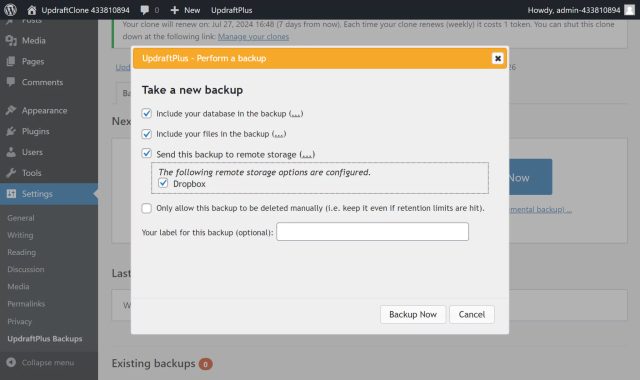
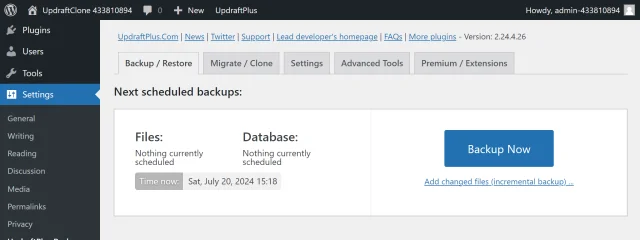
11. Create a test backup
Click Backup Now on the UpdraftPlus >> Backup / Restore tab.
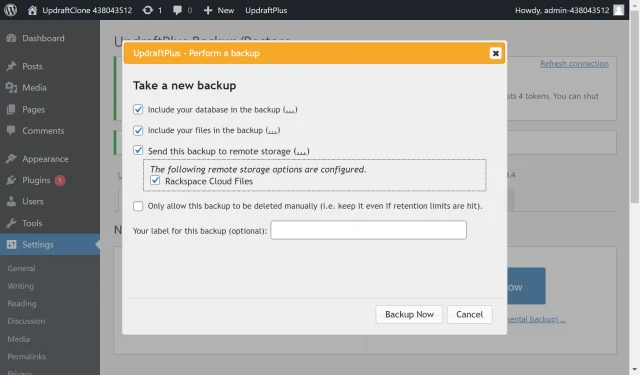
12. Start the back up process
Check the options for Send this backup to remote storage and Rackspace Cloud Files then click Backup Now.
13. That’s it
Your backup is secured on Rackspace and is accessible from UpdraftPlus >> Backup / Restore >> Existing backups.
