How to add Microsoft Azure storage to UpdraftPlus
In this guide we provide step by step instructions to connect UpdraftPlus with Microsoft Azure.
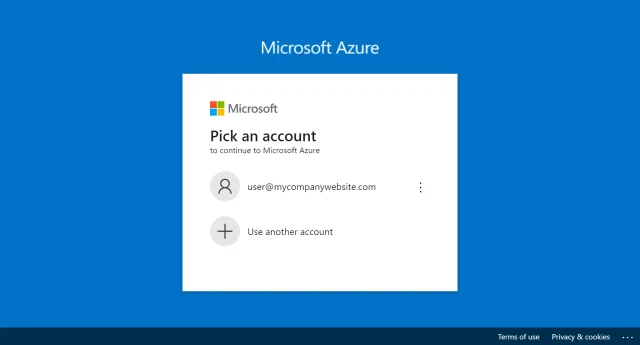
1. Sign into Microsoft Azure
Go to Azure and sign in
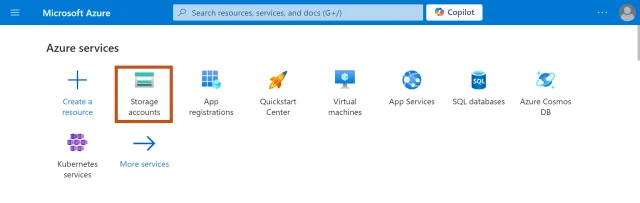
2. Go to storage accounts
Click Azure Services >> Storage accounts
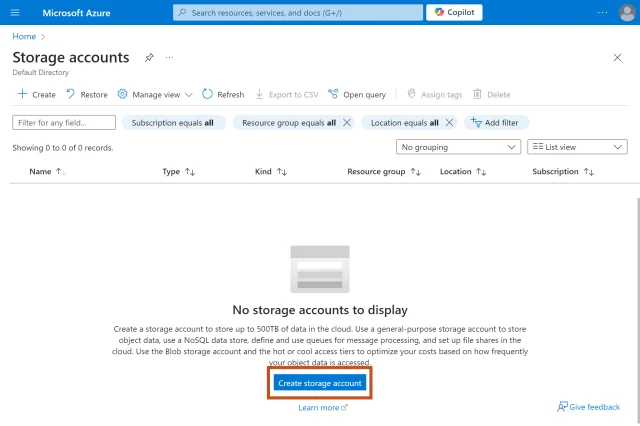
3. Create storage account
Click the Create storage account button
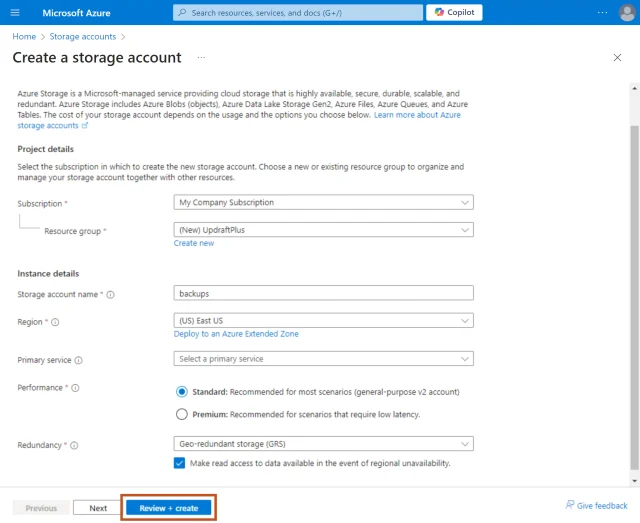
4. Review + create
- Click the create new link
- Enter a name for your resource group
- Enter a storage account name
- Please note these values for later
- Click the Review + create button
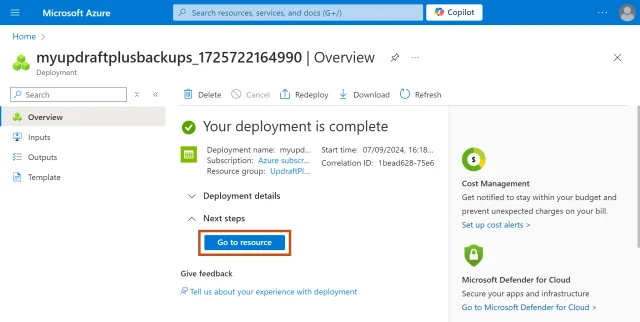
5. Go to resource
After the deployment has completed, click the Go to resource button
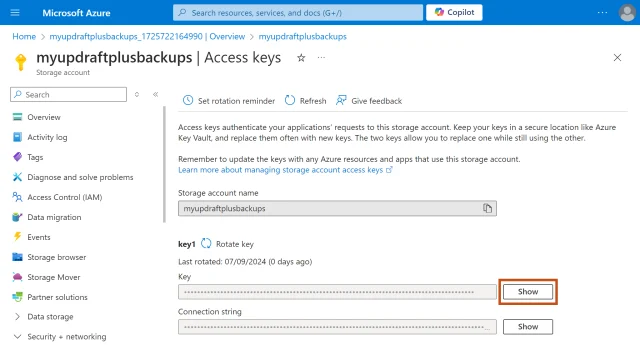
6. Note your Access keys
- Click the Show button
- Copy the key1 value to your clipboard
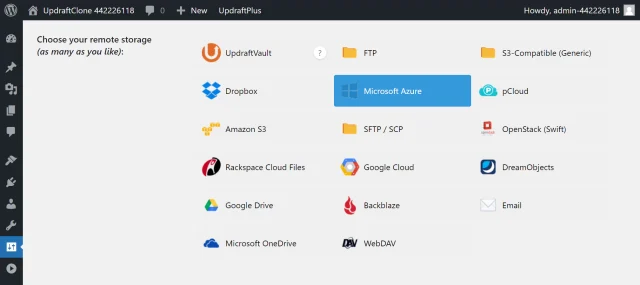
7. Select Microsoft Azure
- Go back to your website
- Click Microsoft Azure on the UpdraftPlus >> Settings tab
8. Enter your settings
- Enter your Storage account name in the Azure account name field
- Enter your Resource group in the Azure container field
- Enter your key in the Azure Key field
Note: If you want your backups to go into a subfolder, enter a folder name into the Azure Prefix field and it will be created for you.
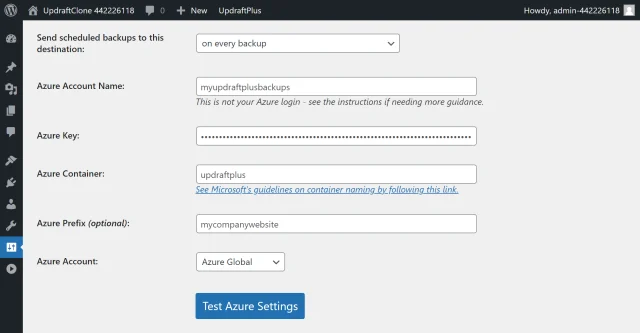
9. Test and save your settings
- Click Save Changes
- Click the Test Azure Settings button to ensure everything is working.
Create a test backup
10. Start the backup process
- On your website, go to UpdraftPlus >> Backup / Restore
- Click the Backup Now button
- Click the three dot menu next to Send this backup to remote storage
- Check the option for Microsoft Azure
- Click Backup Now.
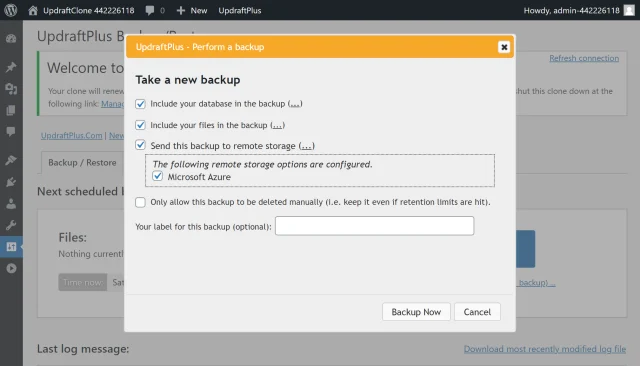
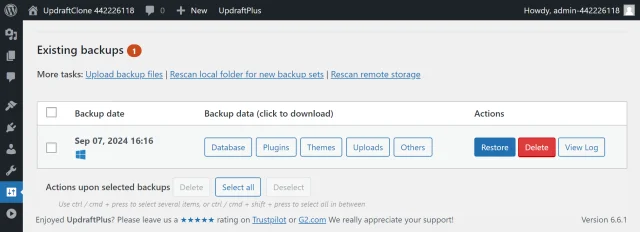
11. That’s it
Your backup is secured on Microsoft Azure and is accessible from UpdraftPlus >> Backup / Restore >> Existing backups.