How to back up WordPress to Google Cloud Storage
Back up to a Google Cloud Storage bucket
Follow these steps to back up to a Google Cloud Storage bucket with a preferred storage class and location.
If you already have your bucket set up, go to step 5.
1. Install and activate UpdraftPlus
If you haven’t already, purchase, install and activate UpdraftPlus Premium.
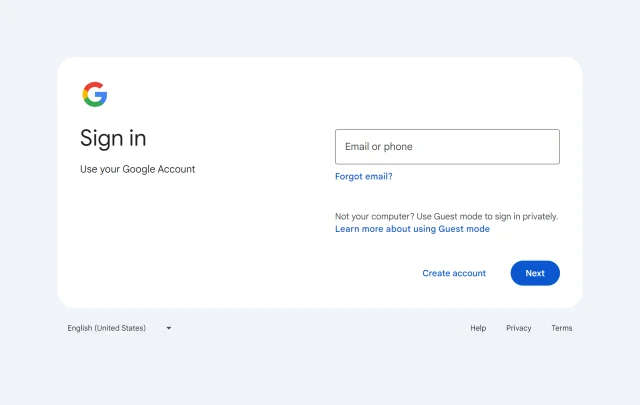
2. Sign into Google Cloud
Go to Google Cloud console and sign in.
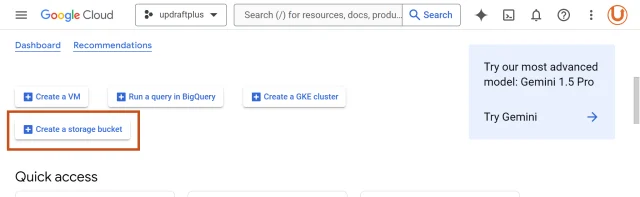
3. Create bucket
Click the Create a storage bucket button.
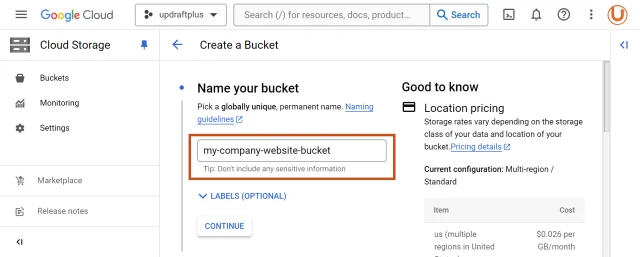
4. Enter bucket name
- Enter your bucket name.
- Scroll down and click Create.
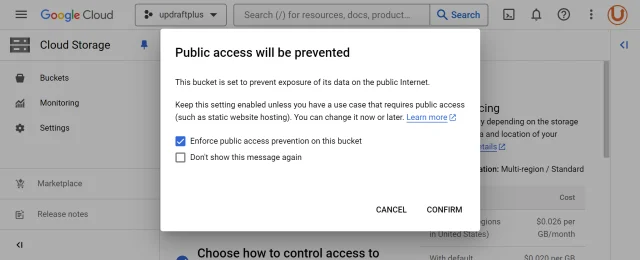
5. Confirm public access prevention
Click the confirm button.
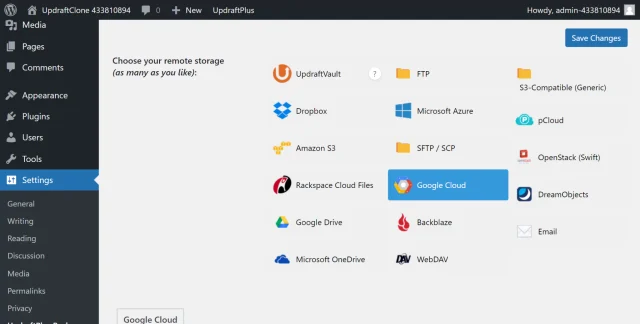
6. Select Google Cloud Storage
- Go back to your website.
- Click Google Cloud Storage on the UpdraftPlus >> Settings tab.
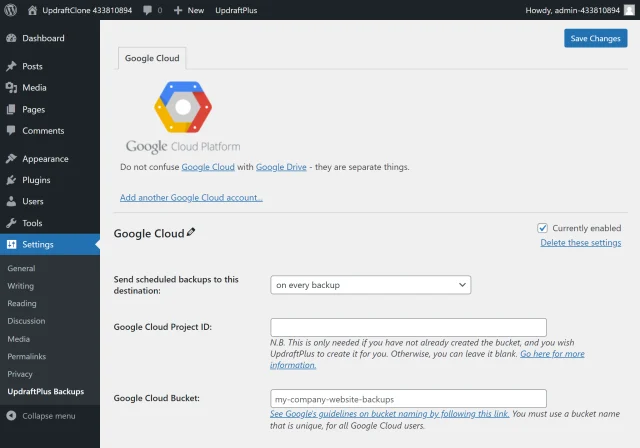
7. Enter bucket name
Scroll down, enter your bucket name and click Save Changes
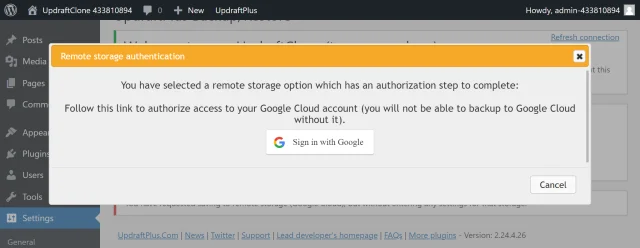
8. Sign in with Google
Click Sign in with Google to start the authentication process.
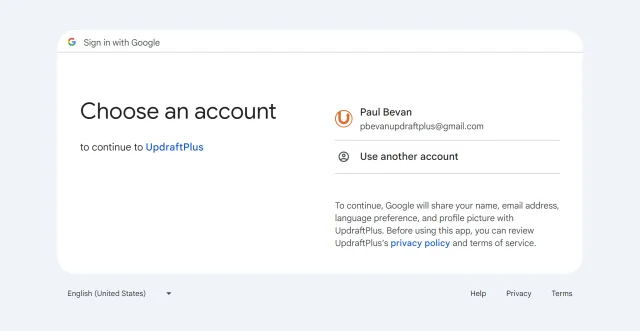
9. Choose an account
Choose your Google account from the list.
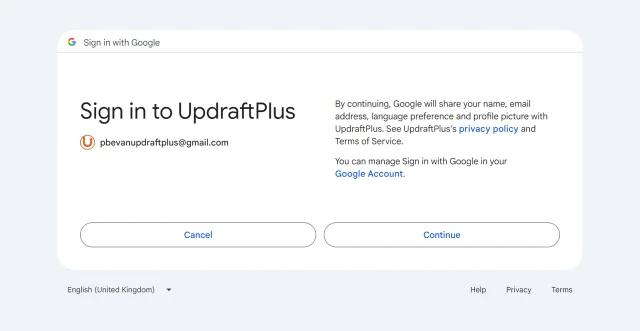
10. Sign into UpdraftPlus
Click Continue.
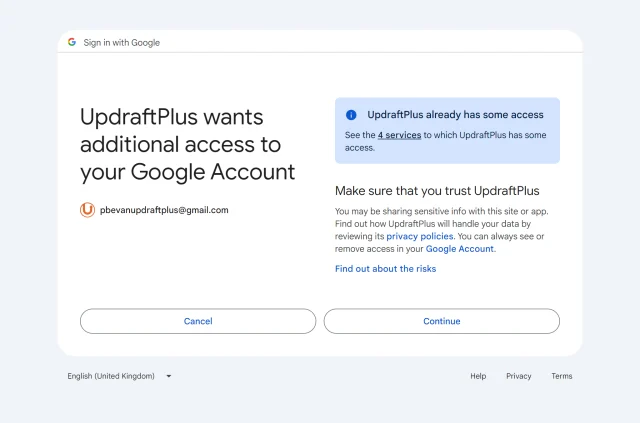
11. Allow access
Click Continue.
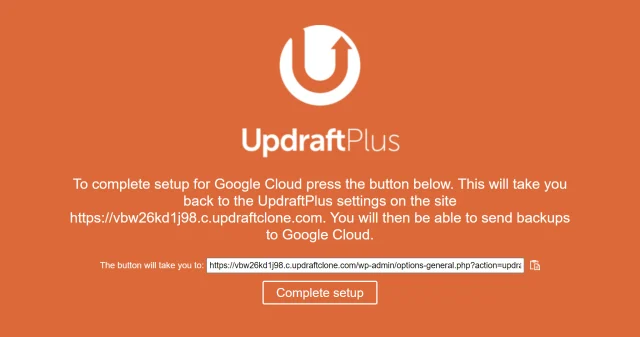
12. Complete setup
Click Complete setup.
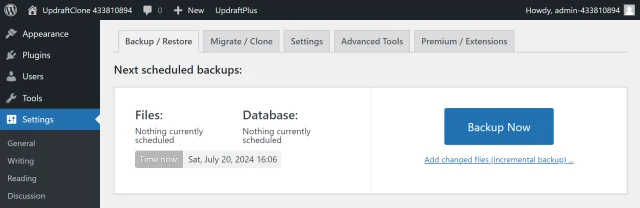
13. Create a test backup
Click Backup Now on the UpdraftPlus >> Backup / Restore tab.
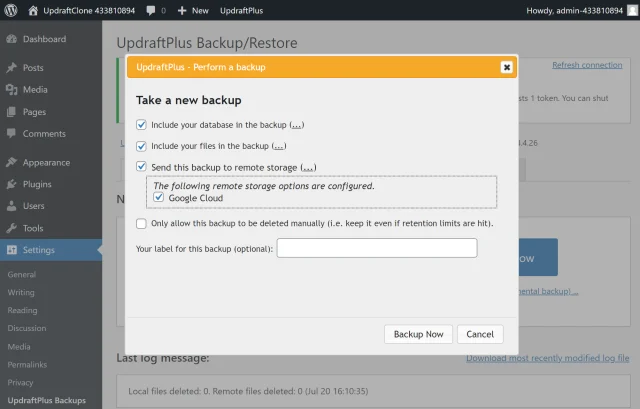
14. Start the backup process
- Check the options for Send this backup to remote storage and Google Cloud.
- Click Backup Now.
15. That’s it
Your backup is now secured on Google Cloud Storage and is accessible from UpdraftPlus >> Backup / Restore >> Existing backups.